
cuisinart automatic grind and brew manual
Cuisinart Grind & Brew Manual: A Comprehensive Guide
This guide details the Cuisinart Grind & Brew automatic coffeemaker, offering instructions for optimal use, from initial setup to troubleshooting, ensuring freshly ground coffee.
Welcome to the world of freshly ground and brewed coffee! The Cuisinart Grind & Brew Automatic Coffeemaker, part of the Premier Series, is designed to elevate your morning routine. This appliance seamlessly combines a powerful grinder with a reliable brewing system, delivering a superior coffee experience directly to your cup.
Congratulations on choosing a coffeemaker that prioritizes convenience and quality; This manual will guide you through every aspect of your new machine, from understanding its features to mastering its operation. It’s built for 120-volt outlets and authorized accessories only. Prepare to retire your alarm clock and awaken to the enticing aroma of freshly brewed coffee, thanks to the Cuisinart Grind & Brew!
Understanding the DGB Series Models
The Cuisinart Grind & Brew family, encompassing models like the DGB-2, DGB-625Bcu, and DGB-650 Series, offers a range of features tailored to diverse coffee preferences. These automatic coffeemakers share the core functionality of grinding whole beans immediately before brewing, maximizing flavor and aroma.
Variations within the series include thermal carafes (DGB-650) for extended temperature retention and differing cup capacities. The DGB-450C is a 10-cup thermal model. Regardless of the specific model, each DGB series coffeemaker is engineered for ease of use and consistent performance, delivering a premium coffee experience with minimal effort. Refer to your specific model’s documentation for detailed specifications.

Key Features and Components
Cuisinart Grind & Brew boasts an integrated grinder, brewing system, and programmable controls, delivering fresh, flavorful coffee with convenient automation and ease of use.
Grinding Mechanism Explained
The Cuisinart Grind & Brew utilizes a burr grinding system, renowned for its consistency and ability to preserve coffee bean aromas. Unlike blade grinders that chop beans unevenly, burr grinders crush them between two revolving abrasive surfaces.
This process yields a uniform grind size, crucial for optimal extraction during brewing. Adjustable grind control settings allow users to customize the coarseness, influencing the coffee’s strength and flavor profile. Finer grinds are ideal for bolder brews, while coarser grinds suit milder preferences. The bean hopper securely holds whole beans, feeding them into the grinder as needed, ensuring freshness with each brew. Regular cleaning of the grinding chamber is essential for maintaining peak performance.
Brewing System Overview
The Cuisinart Grind & Brew’s brewing system is designed for efficient and flavorful coffee extraction. Ground coffee automatically transfers from the grinder to the brew basket, simplifying the process. Water is heated to the optimal brewing temperature and then dispersed over the grounds, ensuring thorough saturation.
The machine features a 12-cup capacity, suitable for both individual servings and larger gatherings. Programmable features allow for pre-set brewing times, waking you to freshly brewed coffee. A thermal carafe option maintains coffee temperature for extended periods without scorching. The system incorporates a self-cleaning function, promoting ease of maintenance and longevity.
Control Panel Breakdown
The Cuisinart Grind & Brew’s control panel offers intuitive operation. Key buttons include ‘Power,’ initiating the machine, and ‘Program,’ for setting auto-brew times. Grind control settings allow adjustment of coffee coarseness, influencing flavor strength. A ‘Brew’ button starts the brewing cycle immediately, bypassing programmed settings.
The digital display clearly shows the current time and programmed brew time. Indicator lights signal power status, brewing progress, and cleaning needs. Some models feature a ‘Clean’ indicator, prompting descaling. Understanding these controls ensures customized brewing and efficient machine operation, maximizing your coffee experience.
Setting Up Your Cuisinart Grind & Brew
Proper setup involves initial cleaning, filling the water reservoir, adding beans to the hopper, and adjusting the grind size for your preferred coffee strength.
Initial Cleaning and Preparation
Before your first brew, thoroughly clean all removable parts – the carafe, filter basket, bean hopper, and grind chamber – with warm, soapy water. Rinse completely and dry. This removes any manufacturing residue.
Run a full brewing cycle with only water, without coffee grounds, to further cleanse the system. This initial flush is crucial for optimal flavor. Discard the water after the cycle completes.
Ensure the machine is placed on a flat, stable surface. Inspect the power cord for any damage. Familiarize yourself with all components before proceeding. This preparation ensures a smooth and enjoyable coffee-making experience with your new Cuisinart Grind & Brew.
Water Reservoir and Filter Usage
The water reservoir is clearly marked with water level indicators for accurate filling. Use fresh, cold, filtered water for the best tasting coffee. Avoid overfilling beyond the maximum line.
Cuisinart recommends using a paper filter (size #4) or the included permanent filter. If using a paper filter, place it securely in the filter basket. The permanent filter is reusable and washable, offering an eco-friendly option.
Ensure the filter is properly seated to prevent grounds from overflowing. Regularly clean the permanent filter to maintain optimal brewing performance. Proper water and filter usage are vital for a delicious brew.
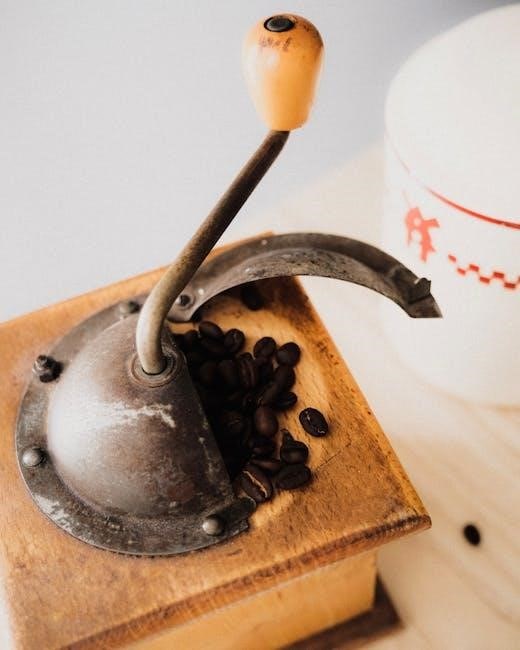
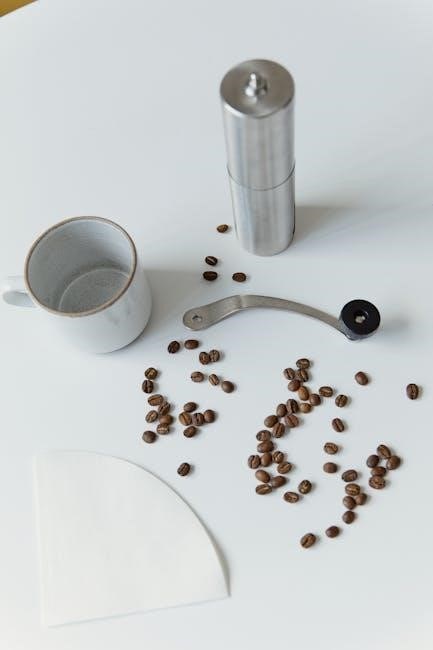
Bean Hopper and Grind Size Adjustment
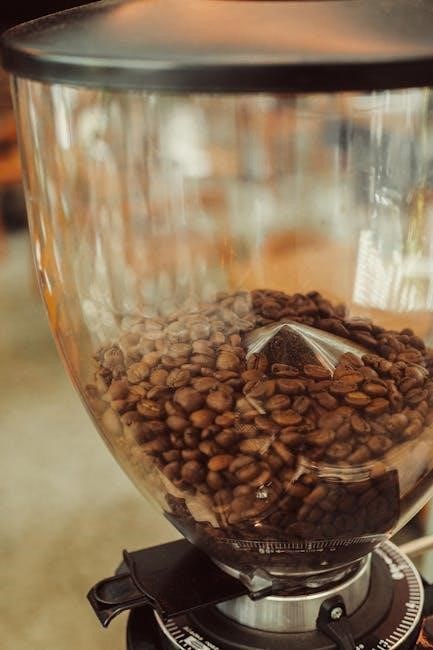
The bean hopper, located on top of the unit, holds whole coffee beans for grinding. Ensure the hopper is securely in place before operation. Only use whole bean coffee; pre-ground coffee will damage the grinder.
Adjusting the grind size is crucial for flavor. A finer grind is suitable for darker roasts, while a coarser grind works best for lighter roasts. Use the grind control settings to select your desired consistency. Experiment to find your perfect grind!
Start with a medium grind and adjust accordingly. Consistent bean quality and proper grind size contribute to a superior coffee experience.
Operating Instructions
This section details how to operate your Cuisinart Grind & Brew, covering both manual brewing and programming the auto-brew function for convenient coffee preparation.
Programming the Auto-Brew Function
To program the auto-brew feature on your Cuisinart Grind & Brew, begin by pressing the “PROG” button. The display will flash, prompting you to set the desired brew time. Use the “HOUR” and “MINUTE” buttons to adjust the time accurately. Once the correct time is displayed, press “PROG” again to confirm.
Next, ensure the coffee maker is properly loaded with water and ground coffee in the bean hopper. The “AUTO” indicator light will illuminate, confirming the auto-brew function is activated. To cancel the programmed brew, simply press the “PROG” button once more, and the “AUTO” light will turn off. Enjoy waking up to freshly brewed coffee!
Manual Brewing Process
For immediate brewing, select your desired grind control setting and ensure the bean hopper contains sufficient coffee beans. Press the “BREW” button to initiate the grinding and brewing cycle. The machine will automatically grind the beans, then brew the coffee directly into the carafe.
Alternatively, if you prefer to use pre-ground coffee, bypass the grinder by selecting the “SKIP GRIND” option (if available on your model). Fill the filter basket with the desired amount of ground coffee and proceed by pressing the “BREW” button. The brewing process will commence immediately, delivering a fresh cup of coffee.
Grind Control Settings
The Cuisinart Grind & Brew offers adjustable grind control settings to customize your coffee’s flavor. These settings range from coarse to fine, impacting the extraction process. A coarser grind is ideal for French press, while a finer grind suits espresso-style brewing.
Experiment with different settings to find your preferred taste. Start with the medium setting and adjust accordingly. Finer grinds yield a stronger, more intense flavor, but can potentially clog the filter if too fine. Coarser grinds produce a milder, smoother cup. Regularly testing different settings ensures optimal flavor extraction.
Cleaning and Maintenance
Regular cleaning ensures optimal performance and longevity of your Cuisinart Grind & Brew. Daily rinsing and periodic descaling are crucial for fresh, flavorful coffee.
Daily Cleaning Procedures
After each use, promptly discard used coffee grounds from the filter basket. Rinse the basket, filter, and carafe with warm, soapy water, ensuring all residue is removed. The brew basket and permanent filter are also dishwasher safe (top rack only).
Wipe down the exterior of the Cuisinart Grind & Brew with a damp cloth. Avoid abrasive cleaners, as they can damage the finish. Regularly check the water reservoir for any mineral buildup and wipe clean. Ensure the grinder chamber is free from coffee bean fragments; a soft brush can be helpful.
Proper daily maintenance prevents buildup and maintains the quality of your brewed coffee, extending the life of your appliance.
Descaling the Machine
Regular descaling is crucial to remove mineral deposits that accumulate over time, impacting performance and coffee flavor. Fill the water reservoir with a mixture of equal parts white vinegar and water. Run a full brew cycle without coffee grounds.
Repeat this process with fresh water two to three times to thoroughly rinse the system, eliminating any lingering vinegar taste. The frequency of descaling depends on water hardness; monthly is recommended for hard water areas.
Cuisinart recommends using their descaling solution, but vinegar is a suitable alternative. Ignoring descaling can lead to reduced brewing efficiency and potential damage.
Grinder Cleaning Instructions
To maintain optimal grinder performance, periodic cleaning is essential. Unplug the coffeemaker before cleaning. Remove the bean hopper and any remaining beans. Use a soft brush – never water – to gently clean the grinding chamber, removing coffee oils and grounds.
Cuisinart recommends using a grinder cleaning brush or a dry toothbrush. You can also use a vacuum with a brush attachment to remove loose particles. Avoid using any detergents or abrasive cleaners.
Regular cleaning prevents clogging and ensures consistent grind size, preserving the quality of your brewed coffee.
Troubleshooting Common Issues
This section addresses frequent problems like the coffee maker not powering on, grinder malfunctions, or brewing inconsistencies, offering solutions for a perfect cup.
Coffee Maker Not Turning On
If your Cuisinart Grind & Brew isn’t powering on, first verify the unit is securely plugged into a functioning 120-volt outlet. Check the circuit breaker or fuse box to ensure the outlet is receiving power. Confirm the power cord isn’t damaged.
Next, ensure the water reservoir is properly seated; a safety mechanism prevents operation if it’s not detected. Also, double-check that the unit’s on/off switch is fully engaged. If these steps don’t resolve the issue, there might be an internal electrical problem requiring professional service. Do not attempt to repair it yourself. Contact Cuisinart customer support for assistance and potential repair options.
Grinder Not Working
If the grinder isn’t functioning, ensure there are sufficient coffee beans in the hopper. The unit won’t grind with an empty hopper. Verify the grind size selector isn’t set to the ‘off’ position. Check for any obstructions within the bean hopper or grinder chamber – foreign objects or built-up grounds can cause blockage.
Also, confirm the grinder lid is securely closed; a safety interlock prevents operation if it’s open. If the issue persists, the grinder motor may be faulty, requiring professional repair. Do not attempt disassembly or repair yourself. Contact Cuisinart customer support for guidance and potential service options.
Brewing Issues and Solutions
If coffee brews too slowly, or not at all, ensure the water reservoir is adequately filled and the filter is correctly placed. Check for mineral buildup, requiring descaling (see maintenance section). Weak coffee often indicates insufficient coffee grounds; adjust the grind control for a finer setting or increase the amount of beans.
Coffee overflowing suggests using too much coffee or a grind that’s too fine. Reduce the coffee amount or select a coarser grind. If the coffee tastes burnt, descale the machine and consider using a coarser grind. Always use fresh, quality coffee beans for optimal flavor.
Safety Precautions
Always operate the Cuisinart Grind & Brew with a 120-volt outlet and authorized parts. Avoid immersing the appliance in water for electrical safety.
Electrical Safety Guidelines
To ensure safe operation of your Cuisinart Grind & Brew, adhere to these crucial electrical guidelines. Never operate the appliance with a damaged cord or plug; immediate replacement is vital. Do not immerse the coffeemaker, cord, or plug in water or other liquids – this presents a severe shock hazard.
Always unplug the unit from the outlet when not in use, before cleaning, and if any malfunction occurs. Avoid using extension cords; if necessary, use a heavy-duty extension cord suitable for the appliance’s wattage. Ensure the voltage of your outlet matches the appliance’s specifications (120V). Never attempt to repair the coffeemaker yourself; contact authorized service personnel for repairs. Keep the appliance away from heat sources and flammable materials.
General Usage Safety
Prioritize safety during operation of your Cuisinart Grind & Brew. Always allow the appliance to cool completely before cleaning or disassembling. Never operate the grinder without the bean hopper securely in place. Be cautious of hot surfaces, especially during and after brewing; use handles or knobs.
Avoid touching moving parts while the grinder is operating. Do not overfill the water reservoir or bean hopper. Ensure the carafe is properly positioned on the warming plate before brewing. Supervise children when the appliance is in use. Never use the coffeemaker for anything other than its intended purpose – brewing coffee. Regularly inspect the appliance for any signs of damage.

Warranty Information
Cuisinart provides a limited warranty on the Grind & Brew, covering manufacturing defects. Contact customer support for details and to initiate a claim if needed.
Cuisinart Warranty Details
Cuisinart stands behind its products with a limited warranty, designed to ensure customer satisfaction and product reliability. The standard warranty period for the Grind & Brew Automatic Coffeemaker is typically one year from the date of original purchase. This warranty covers defects in materials and workmanship under normal household use.
It does not cover damage resulting from misuse, accidents, unauthorized repairs, or normal wear and tear. To make a warranty claim, proof of purchase is required. Cuisinart may, at its discretion, repair or replace the defective product. The warranty is non-transferable and applies only to the original purchaser. Extended warranties may be available for purchase separately.
Contacting Customer Support
Cuisinart provides multiple avenues for customers needing assistance with their Grind & Brew Automatic Coffeemaker. For immediate support, visit the official Cuisinart website, which features a comprehensive FAQ section and troubleshooting guides. You can also reach their customer support team via phone; the number is readily available on their website.
Email support is another option, allowing for detailed inquiries and potential image attachments. Cuisinart also maintains an active presence on social media platforms, offering quick responses to common questions. When contacting support, have your model number and proof of purchase readily available to expedite the process.